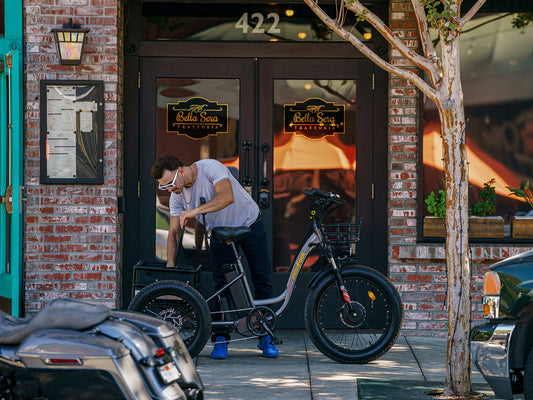
At Maxfoot, our riders share a common desire: to find a better way of navigating life's ups and downs on two wheels. However, beyond that, each rider is unique in their own way.
We design e-bikes for individuals from all walks of life, ranging from students and teachers to grandparents and professional pickleball players. Needless to say, they come in various sizes. That's why understanding the importance of the correct bike seat height is crucial for ensuring the most enjoyable and comfortable rides.
The position of the saddle affects everything from your pedaling efficiency to your posture and overall comfort. An incorrect height can not only detract from the pleasure of your ride but also compromise your safety. Therefore, it is essential to get it right.
To ensure that you are riding with the appropriate saddle height, and to make adjustments if necessary, here's what you need to know.
But let's start with bike size. Before focusing on the correct bike seat height, it's important to ensure that you select a bike that fits you properly. While some bikes are designed to accommodate most riders, others are more specific in their sizing.
Given the wide range of sizes, the correct saddle position will naturally vary for each rider.
Finding the Right Bike Seat Height for You
There are several methods you can utilize to determine the optimal saddle position for maximum pedaling efficiency, comfort, and safety.
One such method is the Hamley Method.
To begin, you'll need to measure your inseam, which is the distance from your crotch to the bottom of your leg. The Hamley Method suggests that your bike seat height should be 109 percent of your inseam. Alternatively, you can find online calculators that will do the math for you.
Another method, known as the LeMond Method, involves multiplying your inseam by 0.883 to determine the appropriate distance from the top of your saddle to the middle of your bottom bracket.
If you prefer a method that doesn't involve calculations, you can use the heel-toe method, which consists of three simple steps:
Start by positioning the crank so that the pedal with your heel on it is in the downward position, parallel to the seat tube.
When seated on the saddle, take note of the following:
- If your leg is fully extended and locked straight at the knee with your foot on the pedal in the downward position, the saddle is too high.
- If your hips need to rock in order for your heel to reach the pedal, the saddle is too high.
- If your leg is bent at the knee with your heel on the pedal, the saddle is too low.
Using the provided torque wrench or an allen key, loosen the seat clamp to adjust the seat post up or down inside the seat tube. Find a saddle height that allows your leg to be straight when seated and with the pedal at the bottom of the crank rotation.
Securing the Correct Saddle Position
Once you have determined the appropriate bike seat height, it is crucial to secure it in place.
First, ensure that the seat post does not extend beyond the "minimum insertion" or "maximum extension" marks on the frame, and that the seat nose aligns with the bike frame.
Next, use the Maxfoot torque wrench to tighten the seat clamp, firmly fixing the seat post. Continue tightening until you hear and feel a distinct clicking noise, indicating that the proper torque has been applied. A loose saddle clamp or seat post binder can cause damage to the seat post or lead to loss of control and accidents.
Maxfoot ebikes are designed to offer limitless mobility, and we don't want something as simple as an incorrect bike seat height hindering your comfort and efficiency during the best rides of your life. If you still have questions about adjusting your saddle correctly after reading this guide, we are here to assist you.


